Shaking combines ingredients with ice, bringing chilling, dilution and aeration into the same step. Follow the recipe’s method rather than shaking every drink by default. Prepare the serving glass and garnish before adding ice to the shaker.
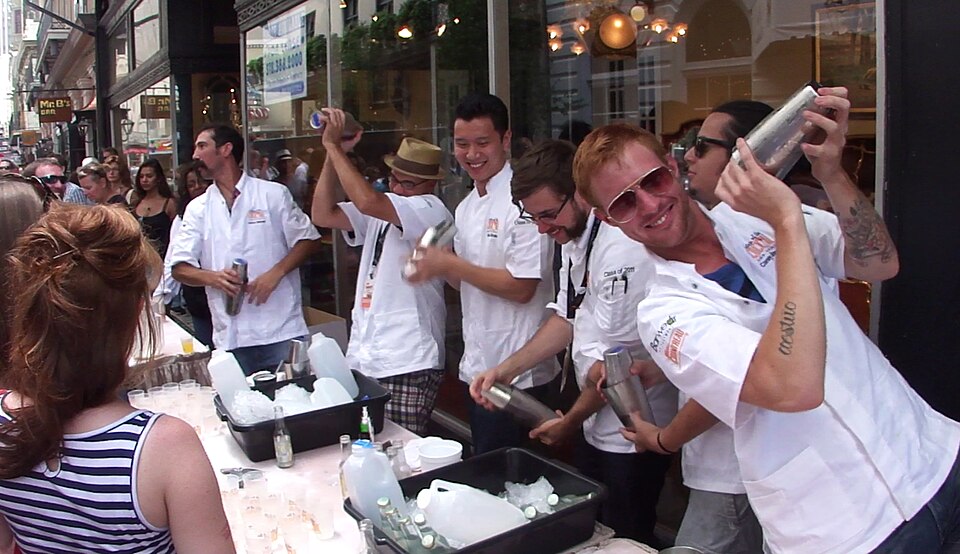
Set up first
Measure the ingredients into a clean shaker. Check that the parts are compatible and undamaged. Add ice when you are ready to start, leaving enough working room. Overfilling makes a secure grip and useful movement harder.
Seal and hold
Assemble the shaker according to its design. Hold both parts securely, with the join and any cap controlled by your grip. Keep the shaker away from faces and move in a clear working area.
Shake with purpose
Use a controlled motion that moves the liquid and ice through the vessel. A dramatic movement is not necessary. Time alone is an imperfect guide because ice, ingredient volume and starting temperature vary. Use the recipe’s instructions as a starting point and develop consistency with the same setup.
Open and strain
Open using the correct technique for your shaker. Do not strike glass or use excessive force to release a seal. Fit the strainer securely and pour into the prepared serving glass. Add fine mesh if the recipe calls for a smoother finish.
Common mistakes
- Adding ice, then leaving the mixture while preparing a garnish.
- Packing the vessel so full that there is little room for movement.
- Holding only one piece of a two-piece shaker.
- Shaking carbonated ingredients in a sealed vessel.
Add sparkling ingredients after straining and combine gently. Wash and separate the shaker parts promptly. Review shaker styles and double straining to complete the workflow.
Build a setup for practice
If you are assembling the equipment for these steps, our beginner tool recommendations explain the first purchases and optional additions. The home-bar shortlist helps you organise the same routine in a small kitchen.
How to hold the shaker securely
- Check the rim, closure and fit before adding ingredients. Practise sealing and opening with water first.
- For a two-handed hold, support the body with one hand and hold the opposing vessel or lid securely with the other. Keep control of every piece that could separate.
- Keep wrists in a comfortable position and use a controlled movement with clear space around you. Direct the closure away from faces and other people.
- Stop if the seal leaks or your grip shifts. Correct the fit rather than shaking harder to compensate.
A one-handed style is optional. If the assembled shaker is too large or awkward for your hand, a secure two-handed grip is the better starting point. Do not overfill: ice and liquid need movement space.
Without suitable equipment, see how to adapt a Whiskey Sour without a shaker.
Frequently asked questions
Should I shake every cocktail?
No. Follow the recipe. Shaking and stirring produce different textures and are chosen for the intended result.
When should I add ice?
Have the serving glass and other tools ready, measure the ingredients, then add ice when you are ready to mix.
Is there one correct shaking time?
No universal time works for every setup. Use the recipe as a starting point and keep quantities, ice and equipment consistent.
What should I do with sparkling ingredients?
Add them after shaking and straining, then combine gently. Do not shake carbonated ingredients in a closed vessel.